How to Install a Motorized Valve in Your Plumbing System?
Installing a Motorized Valve in your plumbing system can significantly enhance efficiency. Renowned plumbing expert, John Smith, once stated, "A motorized valve transforms how we manage water flow." This statement reflects the growing importance of technology in plumbing.
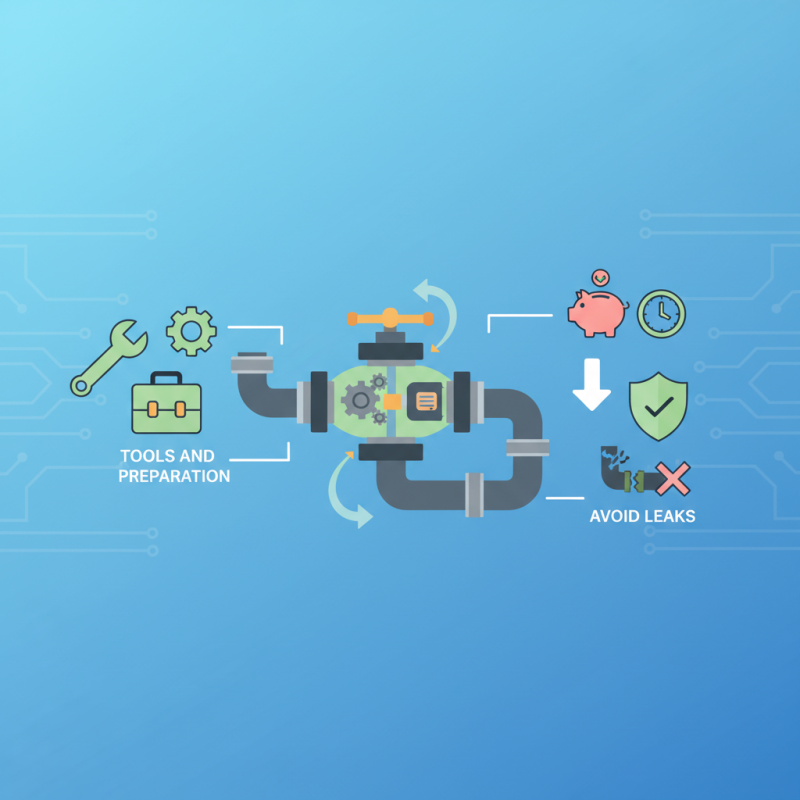
Motorized valves automate water control. They allow precise adjustments to flow rates. However, installation can be challenging. It requires attention to detail and adherence to safety protocols. Mistakes in installation might lead to leaks or malfunctioning systems. Ensure you have the right tools and a clear understanding of the process.
While the benefits of a motorized valve are clear, many underestimate the complexity involved. It's vital to prepare adequately. Don’t rush the installation. Take your time to learn the specifics. A well-installed motorized valve can save you time and money in the long run.
Understanding the Components of a Motorized Valve System
When installing a motorized valve system, understanding its components is crucial. A typical system includes a valve body, actuator, and power supply. The valve body controls fluid flow. The actuator opens and closes the valve electronically. Knowing how each part interacts helps in troubleshooting later.
For effective installation, ensure you have all components on hand. Sometimes, you may need extra fittings. It’s wise to double-check the valve size against your plumbing. Measure twice; cut once. A mismatch can cause leaks.
Tips: Always read the manual before you begin. Install the system when the pipes are dry. This reduces the risk of accidents and unwanted water exposure. If you're unsure, consult an expert. It's better to ask than to make costly mistakes later. Planning is key. Think through every step before you start the project.
Choosing the Right Motorized Valve for Your Plumbing Needs
Choosing the right motorized valve for your plumbing needs is crucial. Many homeowners overlook this important aspect. A well-chosen valve can optimize efficiency and reduce water waste. According to industry reports, improper valve selection can lead to a 20% drop in system efficiency.
Consider your system's requirements. Are you managing hot water, cold water, or both? The type of fluid determines the valve material. For example, brass and stainless steel are great for high temperatures. Plastic valves may suffice for standard applications. Don't forget about flow rates. Choosing a valve with the wrong specifications can be problematic. It can cause pressure issues downstream.
Installation can be tricky. Many people encounter challenges when installing valves. It's important to understand pipe sizes and connections. Misalignment can lead to leaks. Check your plumbing layout carefully. Research suggests that misalignment contributes to 15% of valve failures. Take your time to ensure everything fits properly. If confused, consider consulting a professional. They can provide insights based on the latest industry standards.
Step-by-Step Guide to Installing a Motorized Valve
Installing a motorized valve can enhance your plumbing system significantly. Begin by gathering your tools and materials. You will need a wrench, screwdriver, and some plumbing tape. Ensure you turn off the water supply before you start. Finding the right location is crucial. Look for an accessible space in your plumbing line.
Next, you will need to detach the existing valve. This step can be tricky. Use your wrench carefully to avoid damaging pipes. Once the old valve is removed, clean the area thoroughly. Apply plumbing tape to the threads of the new motorized valve. This will help prevent leaks. Connect the new valve, ensuring it is secure.
After installation, check the wiring and make sure everything is properly connected. It’s easy to overlook the electrical aspect. Double-check your work here. Once done, restore the water supply and test the valve. Listen for any unusual sounds. If something seems off, you might need to revisit your connections. This journey might have bumps, but each step is essential for success.
How to Install a Motorized Valve in Your Plumbing System? - Step-by-Step Guide to Installing a Motorized Valve
| Step | Task Description | Estimated Time (minutes) | Tools Needed |
| 1 | Turn off the water supply to the plumbing system | 5 | None |
| 2 | Drain the plumbing lines | 10 | Bucket |
| 3 | Select the installation location for the motorized valve | 5 | Tape measure |
| 4 | Cut the pipe to fit the motorized valve | 15 | Pipe cutter |
| 5 | Install the motorized valve | 10 | Wrench, Teflon tape |
| 6 | Connect the electrical wiring to the valve | 15 | Screwdriver, wire stripper |
| 7 | Test the valve operation | 10 | None |
| 8 | Restore water supply and check for leaks | 10 | None |
Wiring and Powering Your Motorized Valve: Best Practices
Wiring and powering a motorized valve requires careful attention. Proper installation is vital for smooth operation. Start by ensuring you have the correct power supply. Many valves operate on low voltage, typically 24V. Verify the specifications of your valve before proceeding.
Connect the wiring following the manufacturer’s guidelines. Red and black wires are common for power connections. Ensure secure connections to prevent shorts. Sometimes, incorrect wiring leads to failure. It’s essential to double-check these connections. Using wire nuts can provide better insulation and security.
After wiring, test the valve to ensure it opens and closes properly. If it doesn’t respond, recheck your connections. A frequently overlooked aspect is ensuring the power supply is turned on. Testing might reveal issues that were not apparent at first. Sometimes, even seasoned plumbers encounter problems during installation. Keep a troubleshooting guide handy for reference.
Testing and Troubleshooting Your Motorized Valve Installation
Testing a newly installed motorized valve is crucial to ensure your plumbing system functions as intended. Begin by checking the power supply. Ensure it’s connected and providing sufficient voltage. If the valve does not respond, inspect the wiring for loose connections or damage. Simple issues often derail functionality.
Next, perform a manual test. Disconnect the motor from the power source and operate the valve manually. It should move freely without resistance. If it sticks or feels tight, there may be debris inside. Clean the valve as needed. During operation, listen for any unusual noises, like grinding or humming, which can indicate problems.
Finally, monitor the valve during regular use. Watch for leaks around the seals or fittings. If leaks occur, you may need to replace seals or tighten connections. Sometimes, recurring issues require revisiting the installation process. Don't hesitate to consult resources or ask for advice if necessary. Regular troubleshooting can save time and resources in the long run.